Genie SEO is a WordPress plugin that analyzes & displays your site’s overall SEO performance data in a given time frame.
From SEO overview to keyword details to page details, you can discover all the key SEO performance metrics of your website with the tool.
How to Install and Activate Genie SEO #
Installing & activating Genie SEO on your WordPress website is simple. Follow the steps below to start working with Genie SEO:
Open Your WordPress Dashboard #
First up, log into your WP admin panel to view the WordPress dashboard.

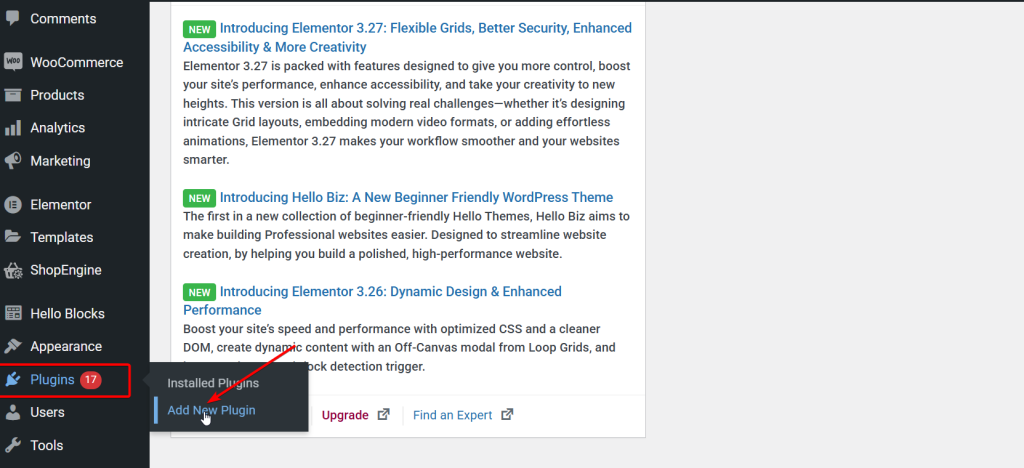
Visit the “Add Plugin” Page from the Sidebar #
From there, navigate to “Plugins” on the sidebar and select “Add Plugin” from the side menu.
Install & Activate GetGenie on Your Site (Pre-requisite for Genie SEO to Work) #
Now, go to the search bar and type “GetGenie” for the plugin to show up on the plugin list. Click the “Install Now” button to install GetGenie on your site. And then, click the “Activate” button to activate the plugin.
Type “GetGenie” => Install Now => Activate

Install & Activate Genie SEO on Your Site #
Move to the search bar again and type “Genie SEO” this time to make it appear on the plugin list. Follow the same process as GetGenie to install & activate Genie SEO on your site.
Type “Genie SEO” => Install Now => Activate
Find “Genie SEO” on Your Site #
Now, visit the “Installed Plugins” page to ensure “Genie SEO” is installed & active on your site.


